

Creating conditions and results
Define the conditions a decision table evaluates and the results it returns, including operators and supported field types.
Creating conditions and results
Conditions are the criteria your decision table evaluates; results are the values it returns when a row matches.
Create a condition
- Click the Add button (+) beside Conditions.
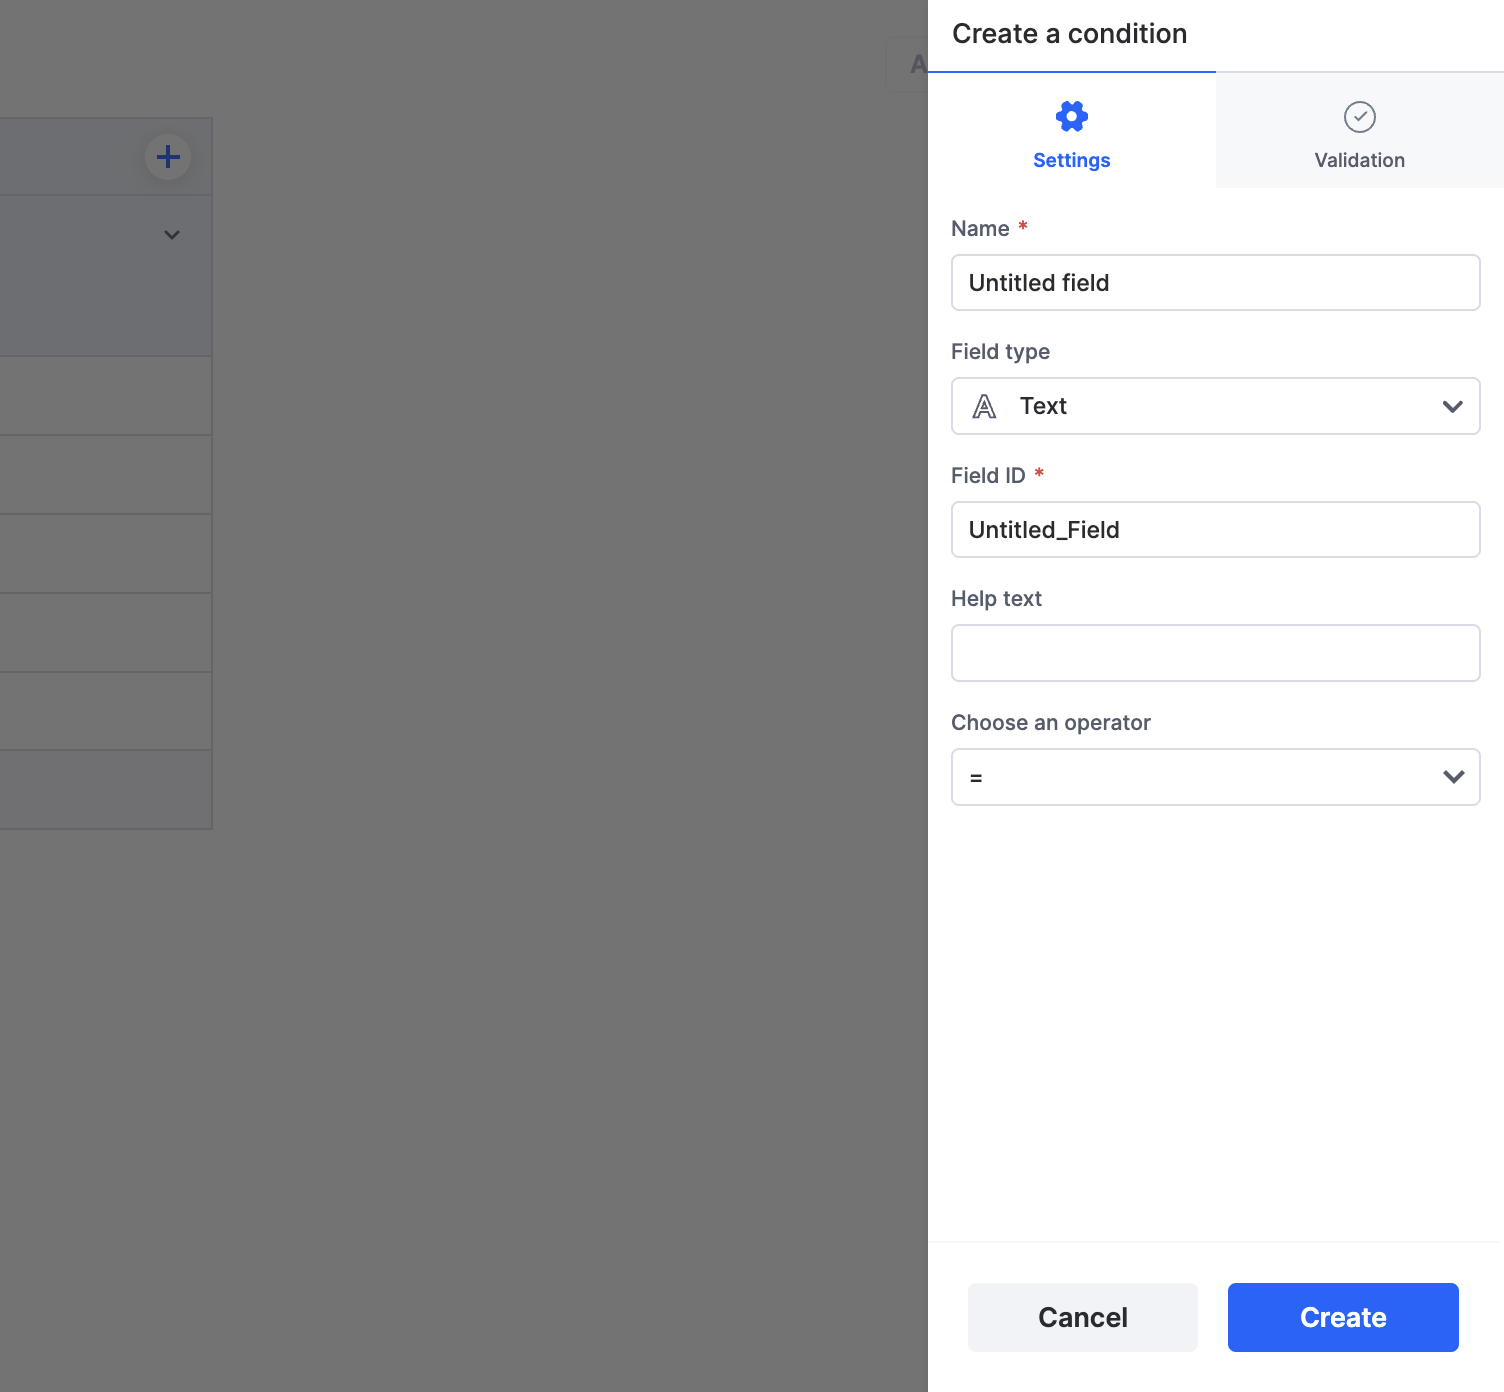
- Enter a name and choose the field type.
- Optionally, set validations to control what values can be entered in the column.
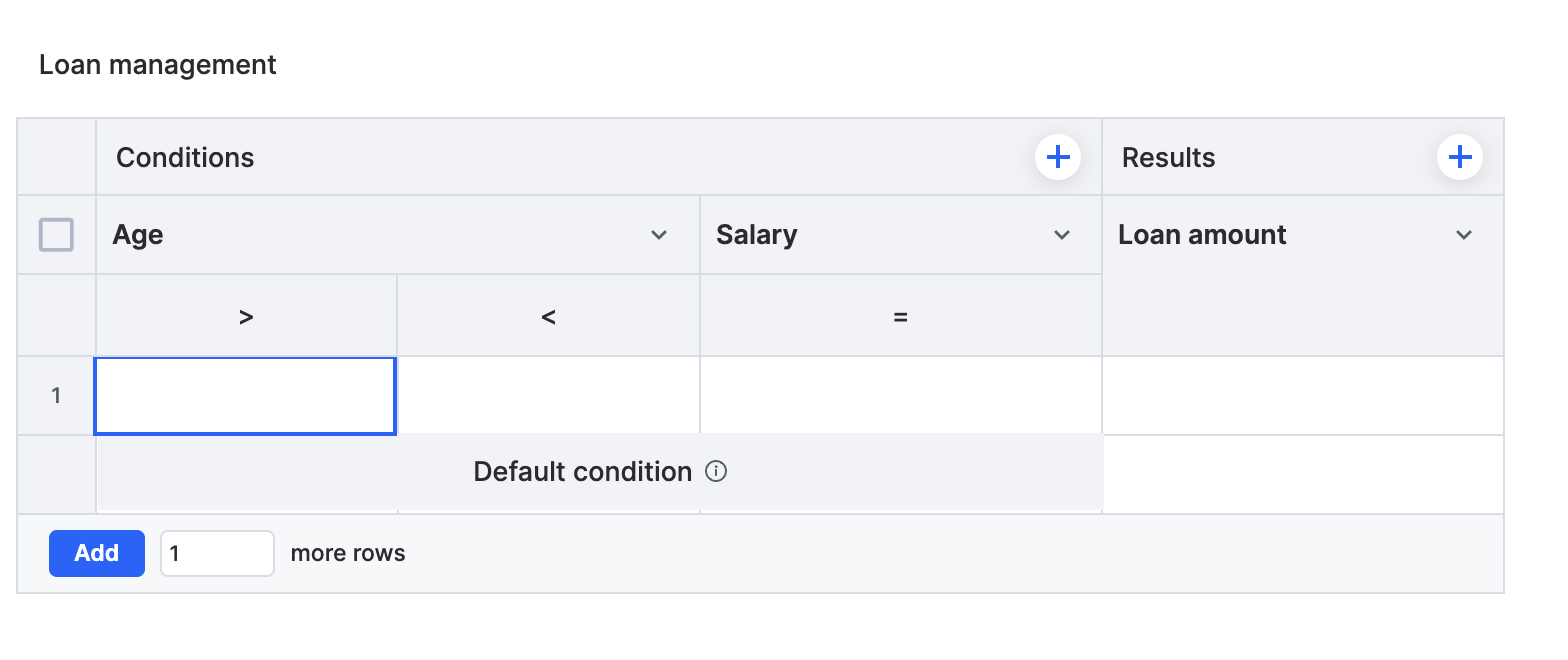
After creating the condition, enter its values in the table rows.
Supported field types
Conditions and results support these field types: Text, Number, Date, Date & time, Dropdown, Yes/No, Currency, User, and Email.
Choosing operators
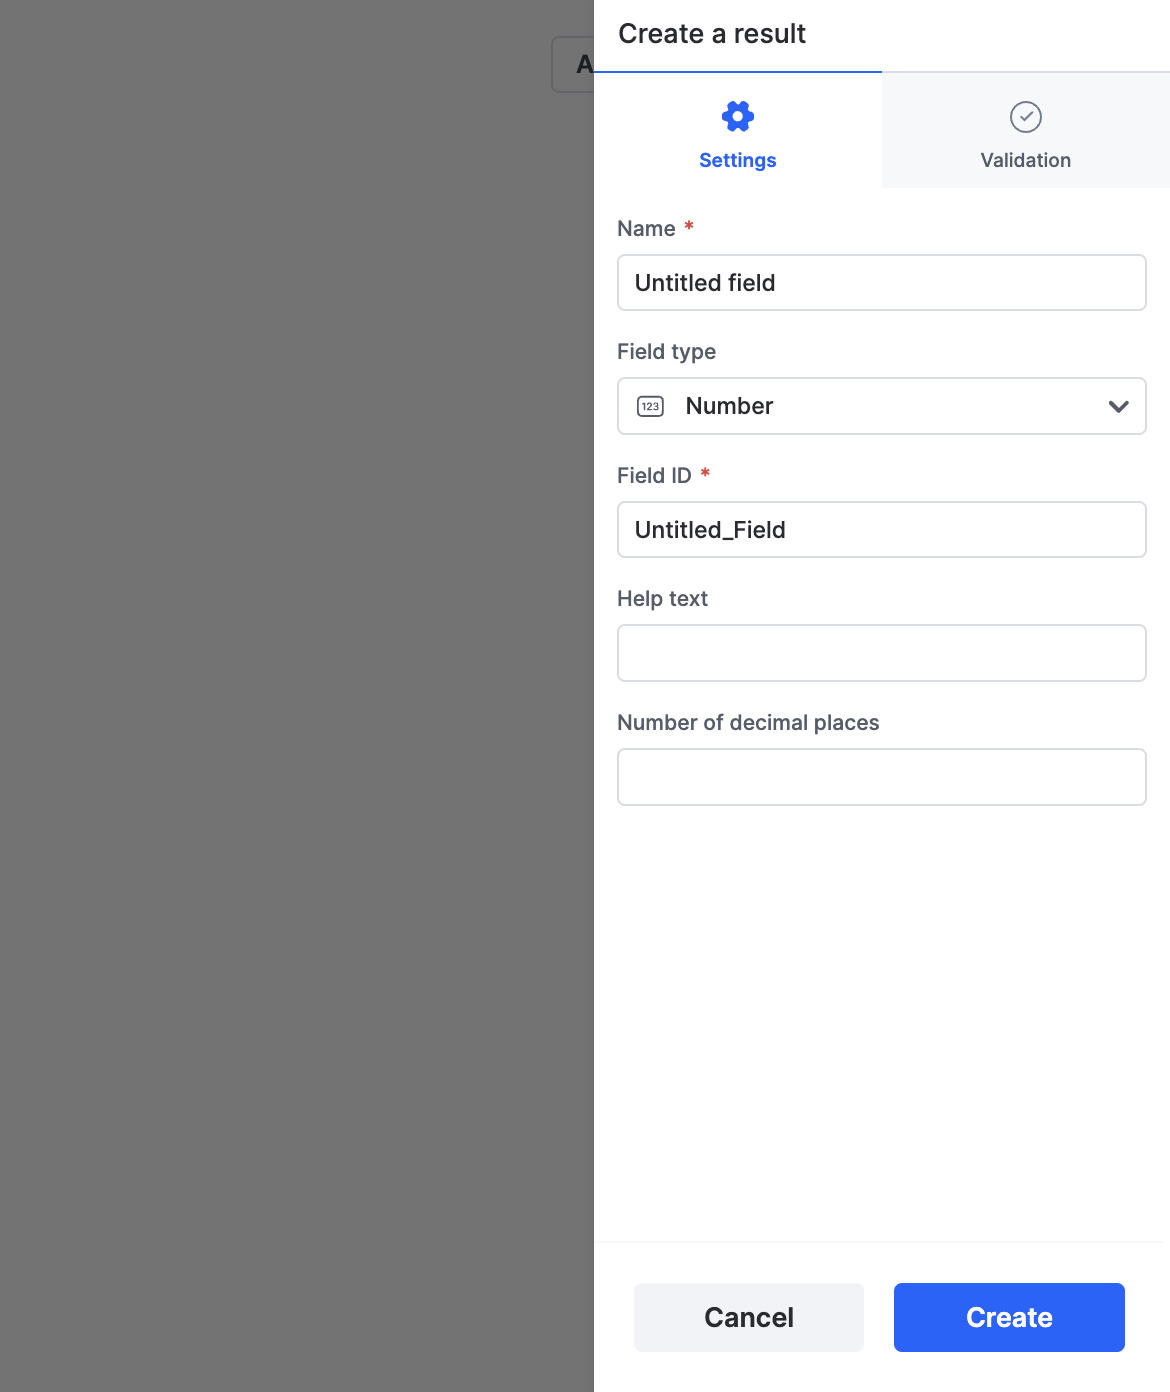
Each condition evaluates its values with an operator. Choose the operator mode that fits your logic:
- Single — evaluate with one operator. Available operators include
=,≠,>,>=,<,<=, and for text fields, Contains and Does not contain. - Range — evaluate values within a range by choosing a lower-limit operator (
>or>=) and an upper-limit operator (<or<=). Range mode is available for Number, Currency, Date, and Date & time conditions.
Example: In a loan approval table, to evaluate credit scores between 600 and 800, choose Range with >= 600 and <= 800. To require a minimum score of 700, choose Single with >= 700.
Create a result
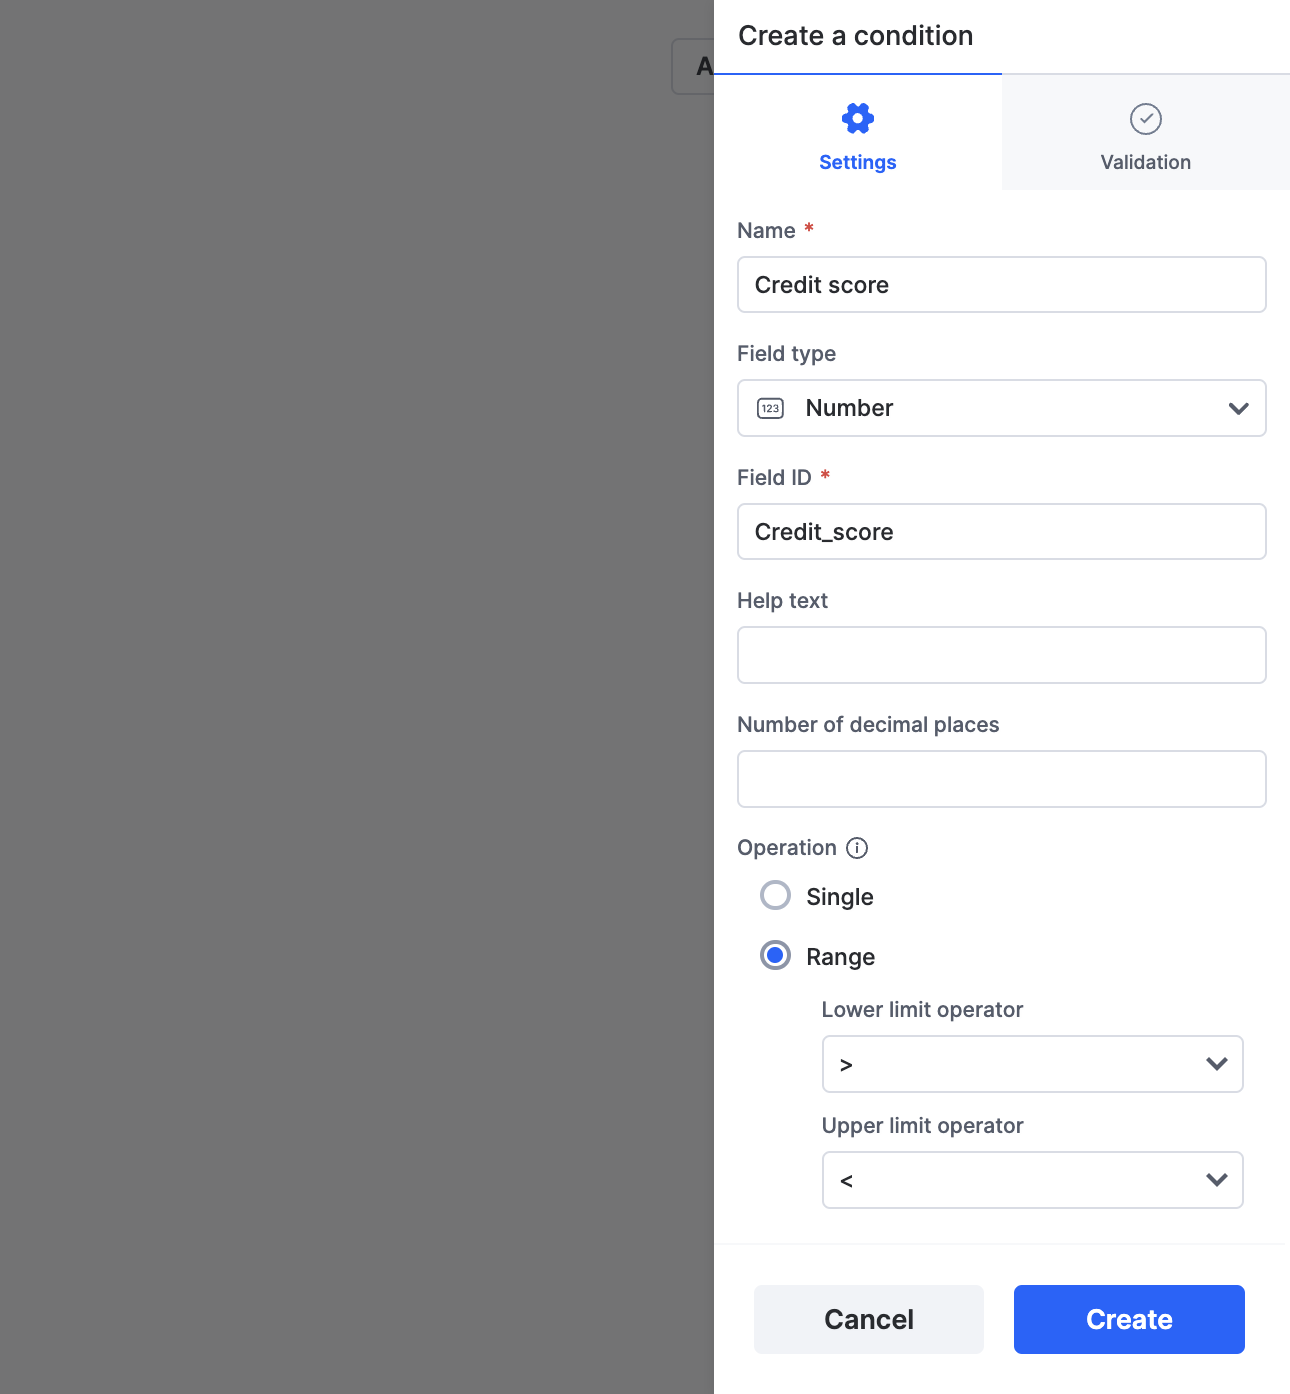
- Click the Add button (+) beside Results.
- Enter a name and choose the field type.
- Optionally, set validations for the result values.
After creating the result, enter the result values for each condition row.
Editing columns
Click a condition or result column header to edit it. From the column menu you can also Add column before, Add column after, or delete the column.
Concurrent editing
Only one person can edit a decision table at a time. If someone else is editing, you'll see a message that another developer is currently editing the decision table, and your changes are blocked until they finish. Their edits are auto-saved as they work.