

Member actions in a process
Access items in a process, act on assigned steps, and use actions like approve, reassign, reject, duplicate, and print.
Member actions in a process
As a process member, you initiate items and act on the steps assigned to you. This article covers where to find your items, the actions available on them, and how to perform bulk actions, duplicate items, and print a form.
Accessing your items and tasks
Every process has two primary tabs: Created by me and Assigned items.
Created by me
The Created by me tab shows all the items you've been active on. For each section, you can:
- Search items.
- Apply filters.
- Control which fields are shown or hidden from the Show/hide fields (
 ) menu.
Note
Table fields cannot be shown or hidden, and their associated data cannot be used for searching or filtering.
Click an item to open it and check its progress. You can also see the fields in the form that are made visible at your particular step.
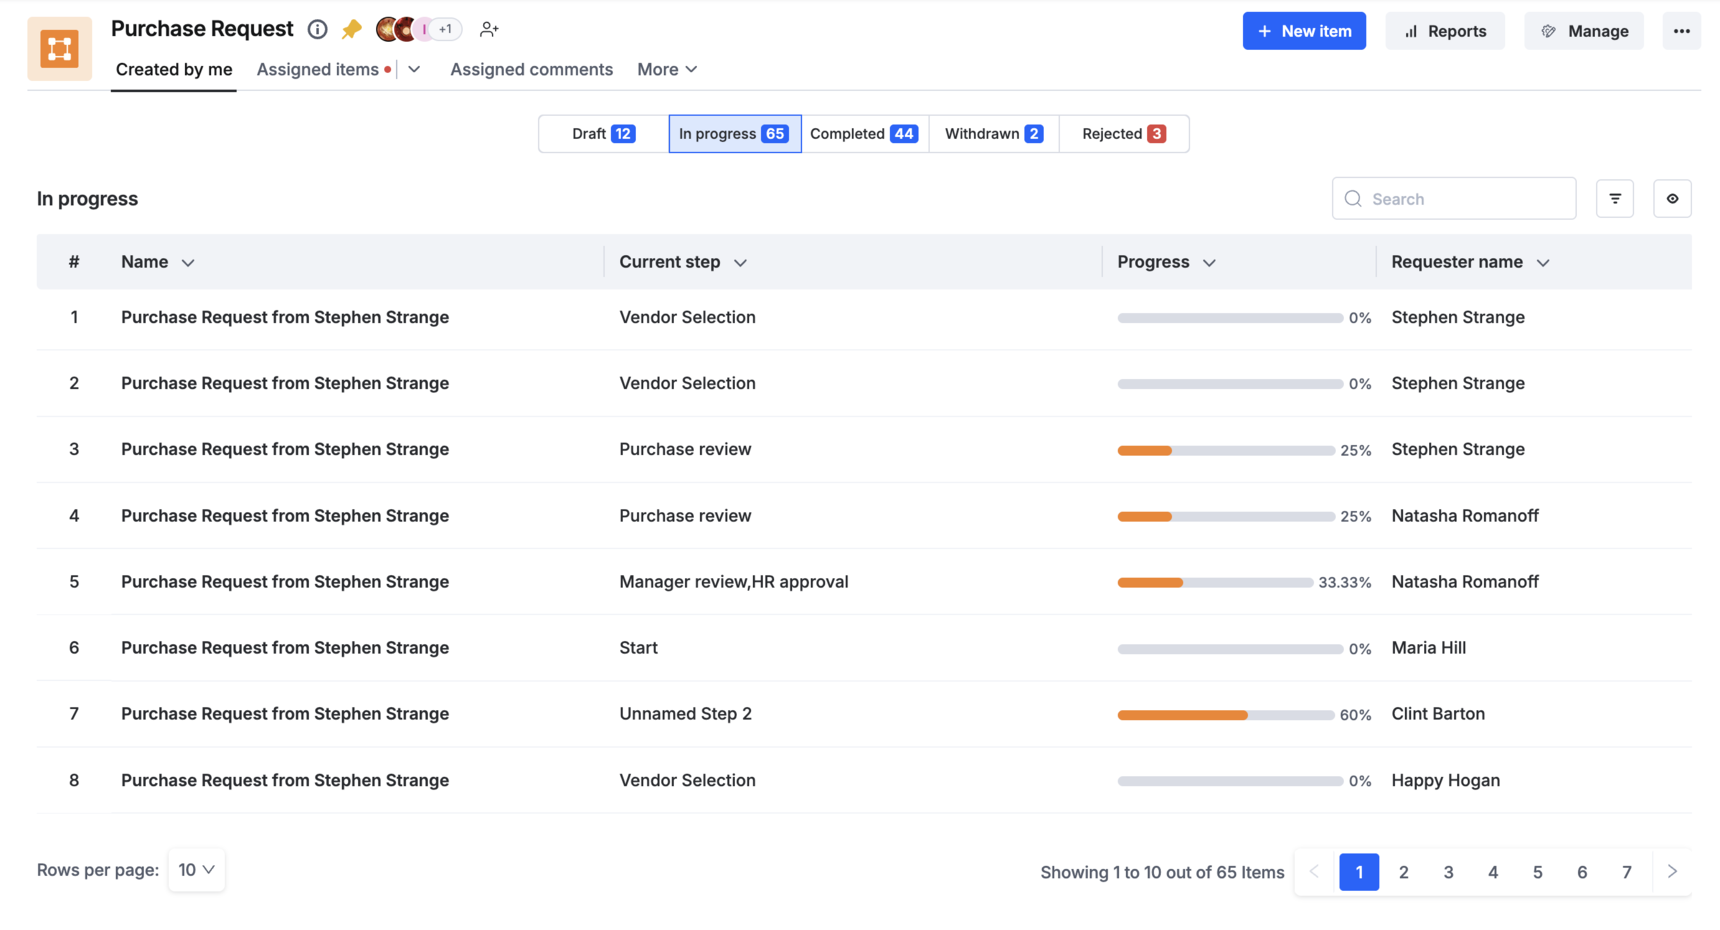
Items are categorized in this order:
| Category | What it shows |
|---|---|
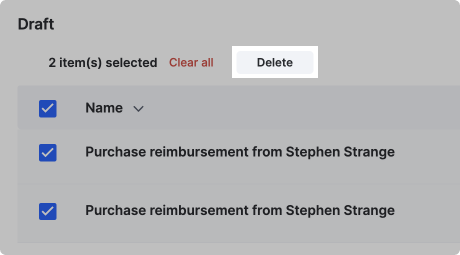
| Drafts | Items you've started filling out but haven't submitted. You can edit values and delete, save, or submit the item. In table view, select the checkboxes before items to bulk delete them. |
| In progress | Items you've submitted that haven't finished the workflow. Opening one shows a progress bar in the upper-right of the form. Field values can't be changed. Depending on Process Admin settings, you may be able to reassign or withdraw the item. |
| Rejected | Items you created that were rejected. Clicking Restart after opening one shows the same data as a draft, which you can submit as a new item. |
| Withdrawn | Items you've withdrawn. You can restart these after opening them — restarting adds a note on the workflow that the item was restarted. |
| Completed | Items that have finished the workflow. |
Assigned items
The Assigned items tab shows all the steps assigned to you, categorized by step in the workflow. For each step assigned to you, you can search, apply filters, and control which fields are shown or hidden.
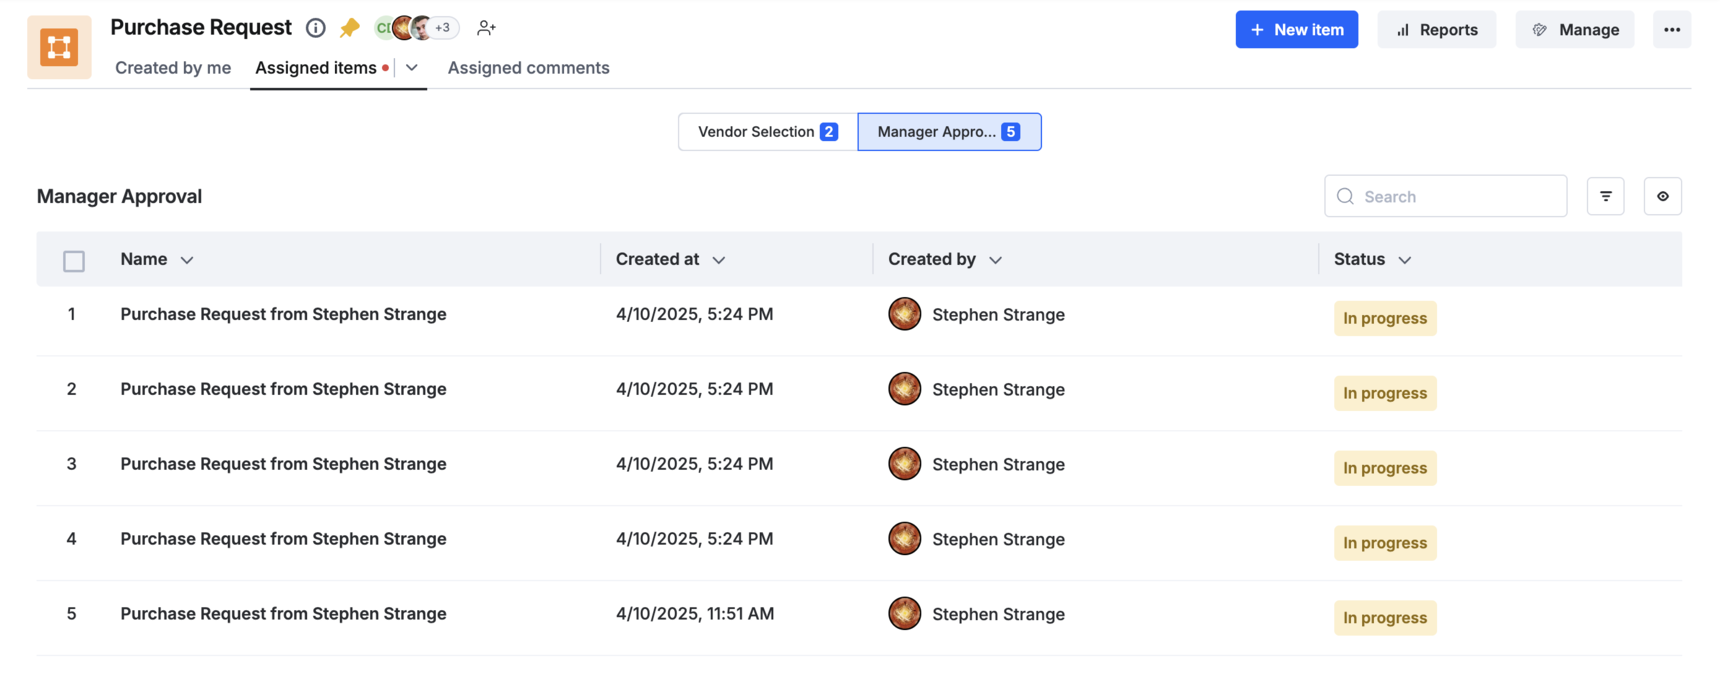
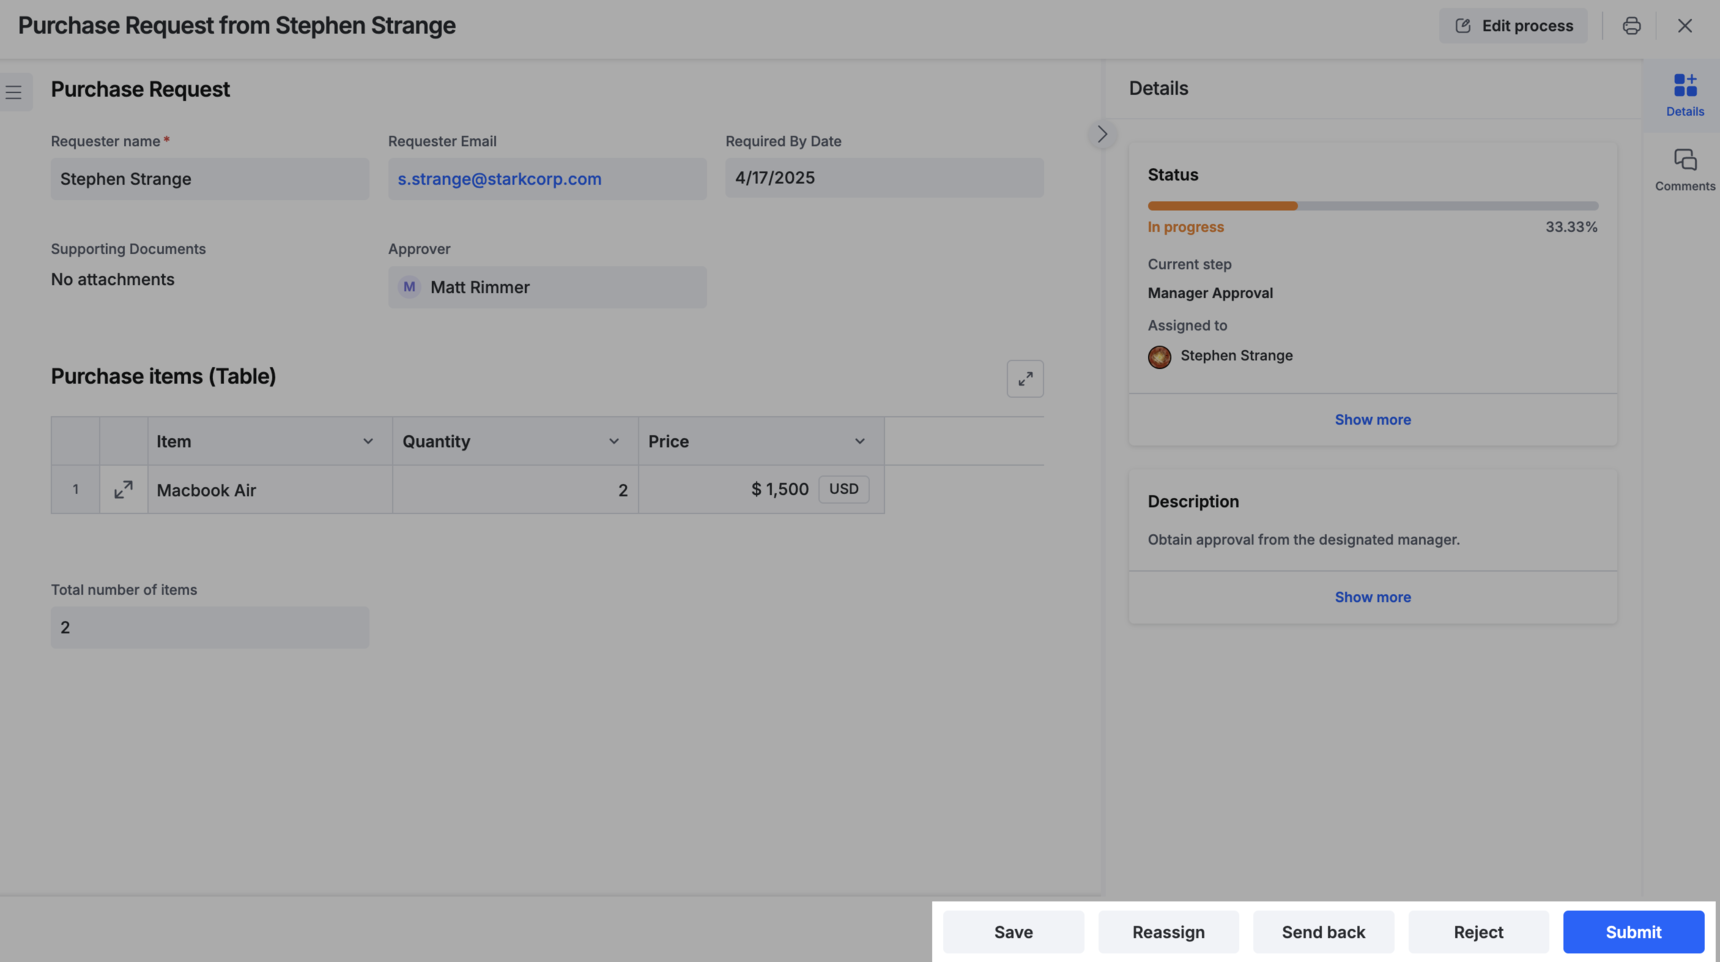
Depending on the permissions set by the Process Admin, you can edit or view the fields in the form. On the right side of the form is the status section — click Show all to see which steps are completed and which are still pending.
At the bottom of the form are the actions you can perform. These buttons are configured by the Process Admin, so their wording and visibility can differ by step:
- Approve/Done/Submit — advances the item to the next step. Forms may have validations that require you to adjust field values first.
- Reassign — lets you select someone else to complete this step.
- Reject — completely rejects the item. The person who started the item can restart it as a new draft.
- Send back — places the item at a particular step earlier in the workflow.
- Save — saves the values you've entered so you can come back to the item later.
Accessing participated items
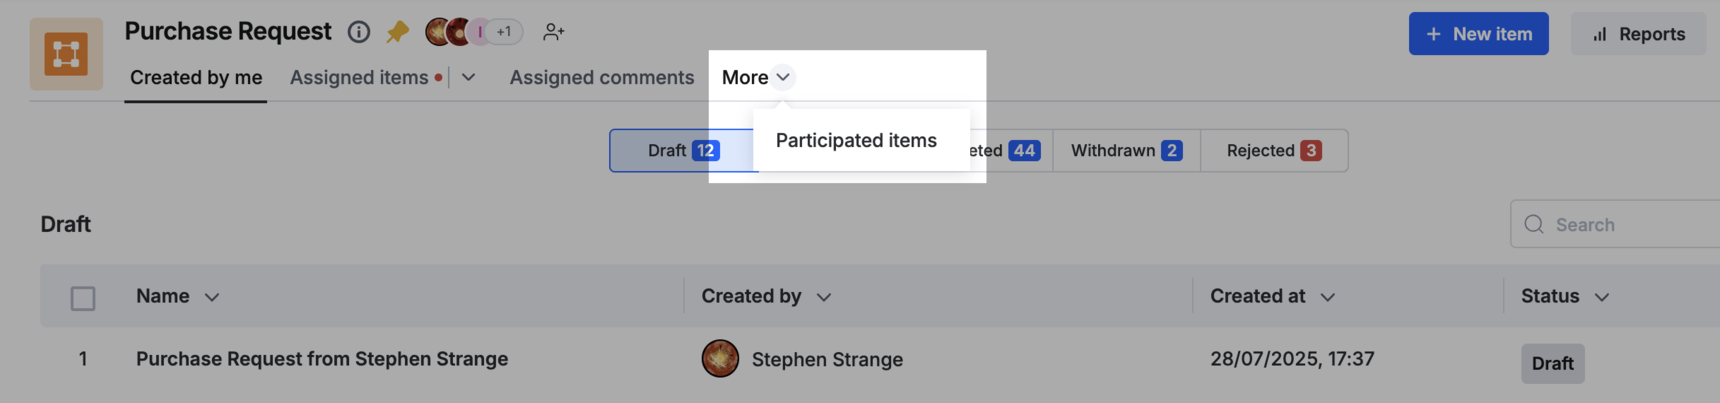
To access all the items you've acted on, click More > Participated items.
Initiate a new item
- Click + New item at the top right of the screen.
- Fill in the form fields.
- Click Submit.
You can also:
- Click Save to store your work in Drafts (accessible under Created by me) without submitting it.
- Click Discard to delete the item permanently from the system.
Perform bulk actions
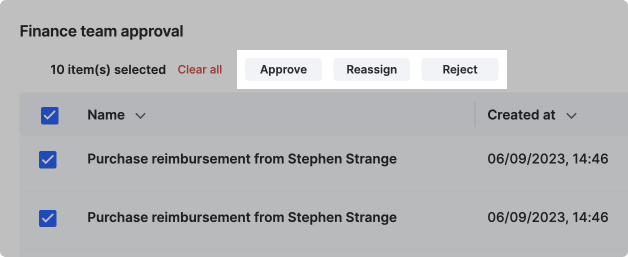
You can approve, reassign, or reject multiple items at once from the Assigned items tab.
- Go to the process and click the Assigned items tab.
- Select the items you want to act on. You can also select the checkbox at the top, beside the column title, to select all items on the page.
Note
Bulk actions apply only to the items you've selected. Check your process's grid page size if you need to act on more items than are currently loaded.
Approve items in bulk
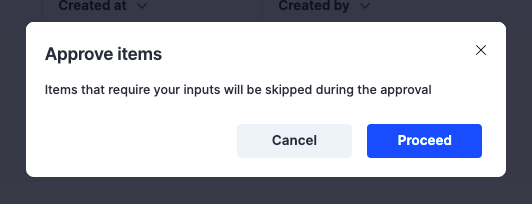
Select the items you want to approve and click Approve. Bulk approval may take a few seconds; the final status is shown in a toast message at the top-right of the page.
Note
Items that require your input — those with mandatory fields awaiting your input — are skipped during approval. Skipped items get a yellow exclamation mark once the bulk approval completes, so you can act on and reapprove them individually.
Reassign items in bulk
Select the items you want to reassign and click Reassign.
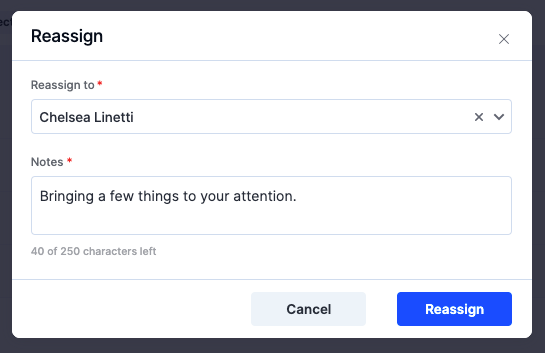
Reassigning an item to a specific user removes only your association with it — it doesn't affect the item's association with its other assignees, if any.
For example, if John and Linda are assigned to an item along with you, and you reassign it to Abraham, Abraham joins John and Linda as an assignee. You're the only one removed from the item.
Note
Reassigning works differently when the user reassigning the item is a Process Admin. Learn more in admin actions in a process.
Reject items in bulk
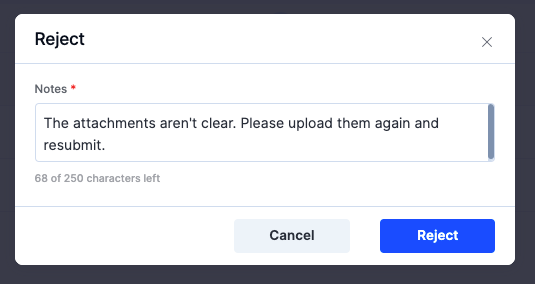
From the Assigned items tab, select the items you want to reject, click Reject, and add relevant notes.
Delete an item
You can delete an item only when it's a Draft. Go to Created by me > Drafts, select the items you want to delete, and click Delete.
Important
Deleting an item permanently removes all data associated with it.
Duplicate an item
You can duplicate a process item after initiating or submitting it. Duplicating creates a copy of the item with its values, subject to the scope of the initiator.
Click the Duplicate button (  ) at the top of the item page.
Note
Only items in In progress or Completed states can be duplicated. The duplicate uses the last saved values for all fields.
Use case
Linda heads the HR team at an IT firm. It's appraisal season, and she's launching an Employee 1:1 Appraisal process. The form has generic fields like Employee name and Designation, plus sensitive fields like Current salary and Salary hike percentage.
She sets Current salary and Salary hike percentage to stay hidden until the item reaches the manager's approval step, so only the manager sees salary information when deciding on a hike. Once the process is published, Linda can duplicate an existing appraisal item instead of recreating one from scratch each time — without exposing sensitive fields during duplication.
Print a form
-
Open an item and click the Print button (
 ) at the top right.
-
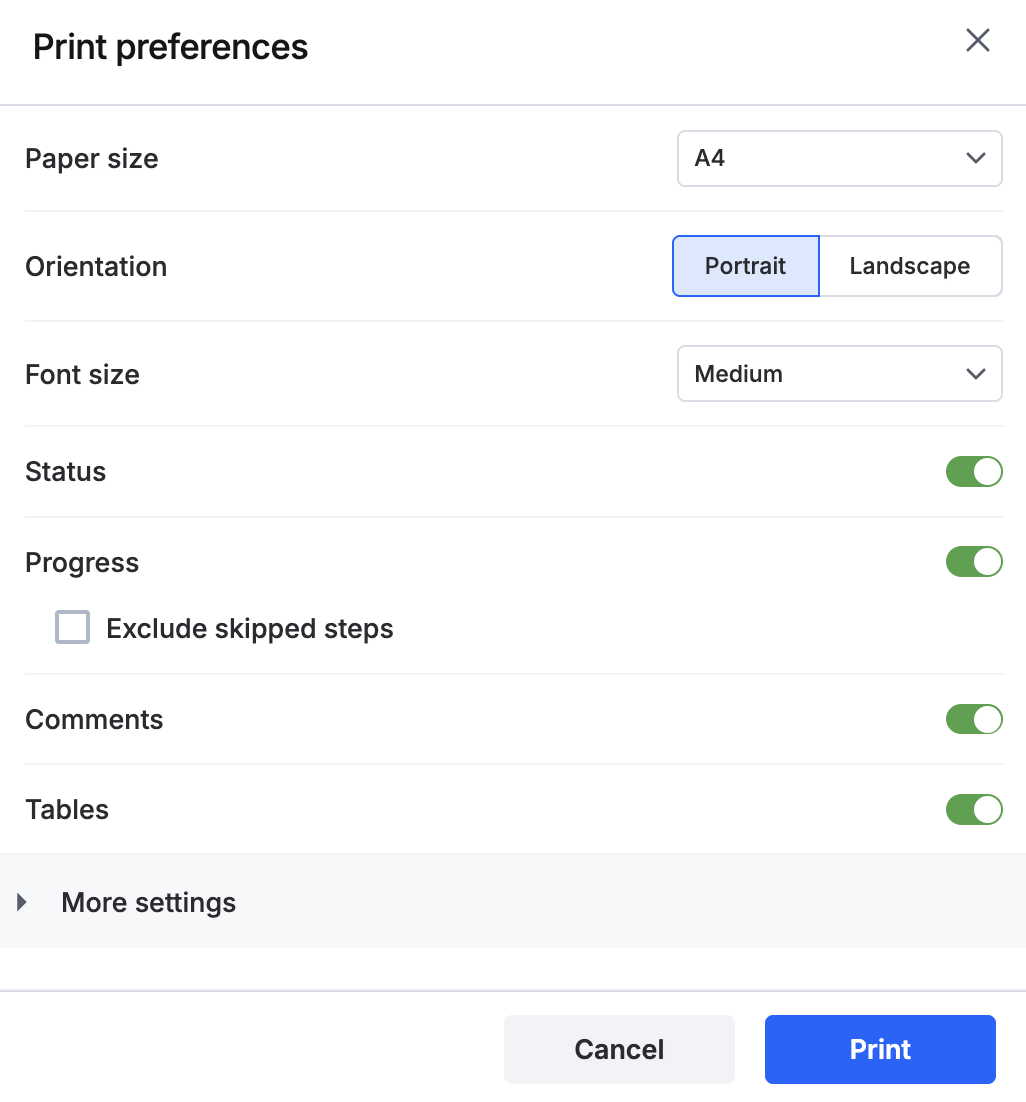
Select a paper size.
-
Select an orientation — Portrait or Landscape.
-
Set a preferred font size for the text.
-
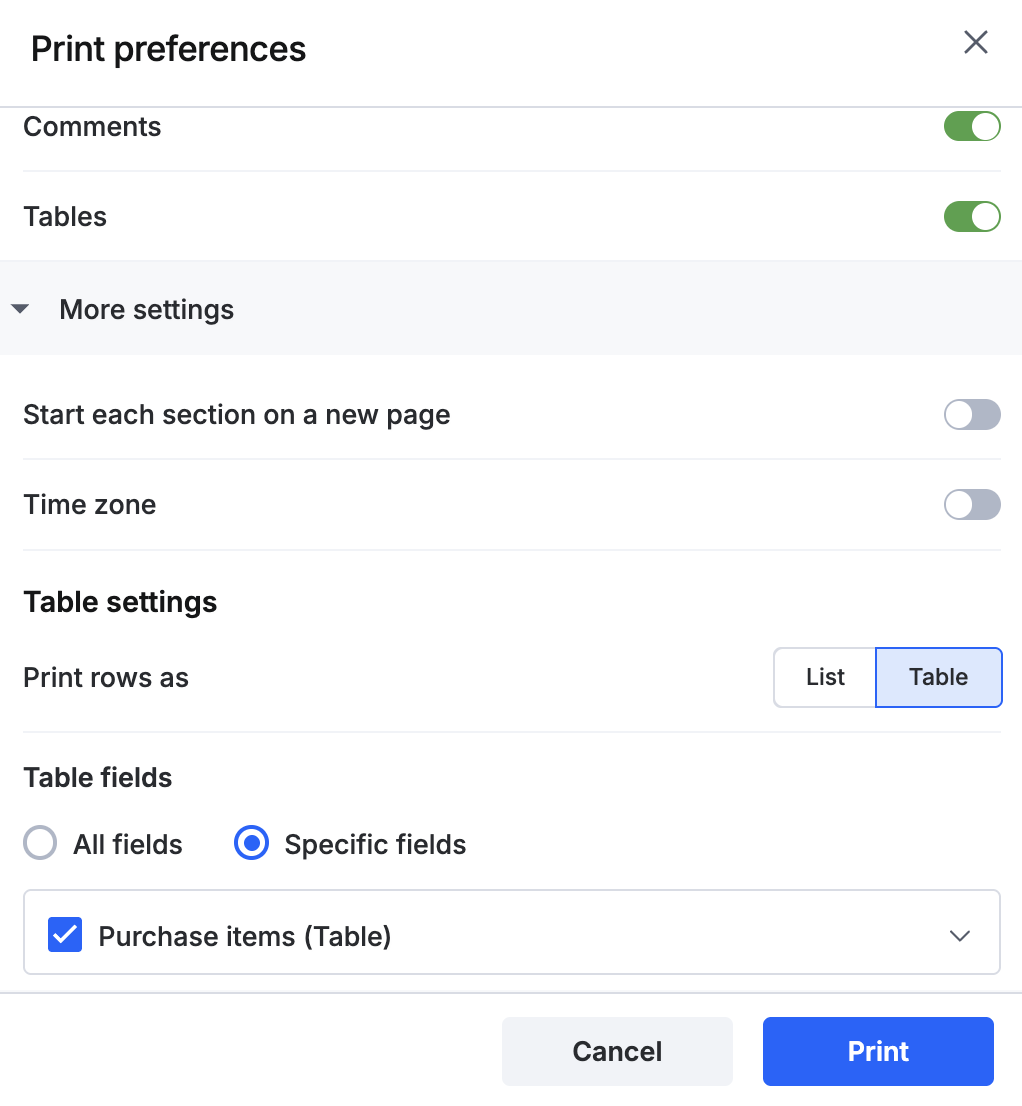
Choose what to include in the printout:
- The item's status.
- The item's progress, with the option to exclude skipped steps.
- The item's comments.
- The item's associated tables.
-
Under More settings, you can:
- Print every section of the form on a new page.
- Include the time zone.
- Print table rows as a table or as a comma-separated list.
- Select all or specific fields for printing.
-
Click Print to get a paper printout or save it as a PDF.