Creating and managing items
Create items in a Kissflow board, update their status and details, make bulk updates, and archive, delete, or clone items.
Creating and managing items
Once a board and its form are set up for you, you can start creating items to track your work. Every item moves through the statuses configured in the board's workflow, starting in the first status of the Not started category.
Add a new item
-
Click the New item button at the top right of the board.
Note
The button name changes based on the item type configured for the board — for example, New ticket on a ticketing board.
-
In the form that opens, fill in the details:
- Assignee — the member responsible for the item.
- Priority — choose Low, Medium, High, or Critical.
- Start date — when work on the item should begin.
- Due date — when the item should be closed.
- Requester — the user who requested the item.
- Any other fields your board's form captures.
-
Click Submit.
Note
The Priority field is hidden if priority has been turned off in the board's settings.
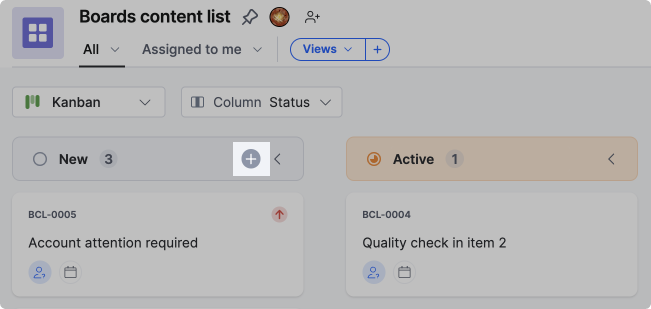
New items appear in your board's current layout. Click the All tab to see every item in the board, or switch between layouts to view items in different ways.
Create multiple items by pasting
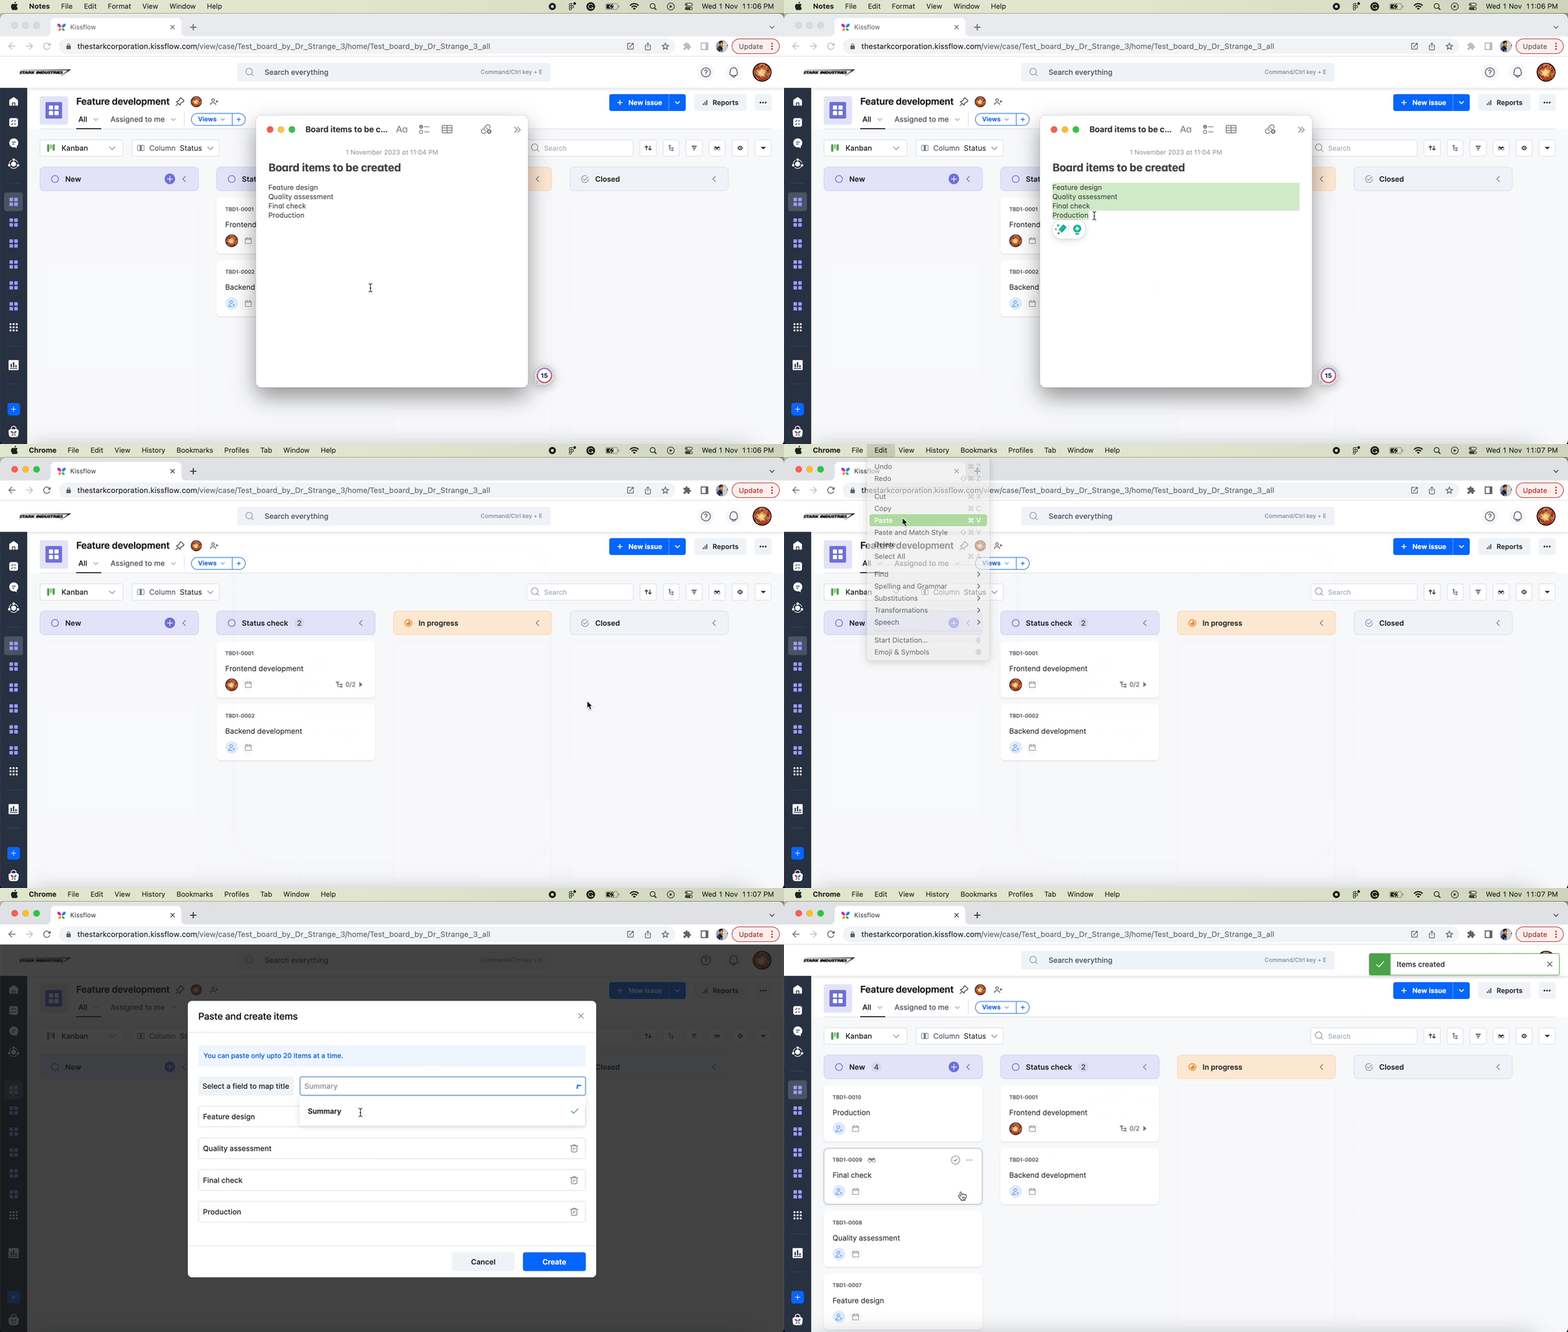
You can paste a list of text to create multiple items at once. Copy a list (for example, from a notepad), go to any board layout, and paste it (Ctrl/Cmd + V). In the Paste and create items dialog, select a field to map the title and click Create. The items are created in the first status of the Not started category.
Note
You can paste up to 20 items at a time.
For larger batches, import items from a CSV file.
Update an item
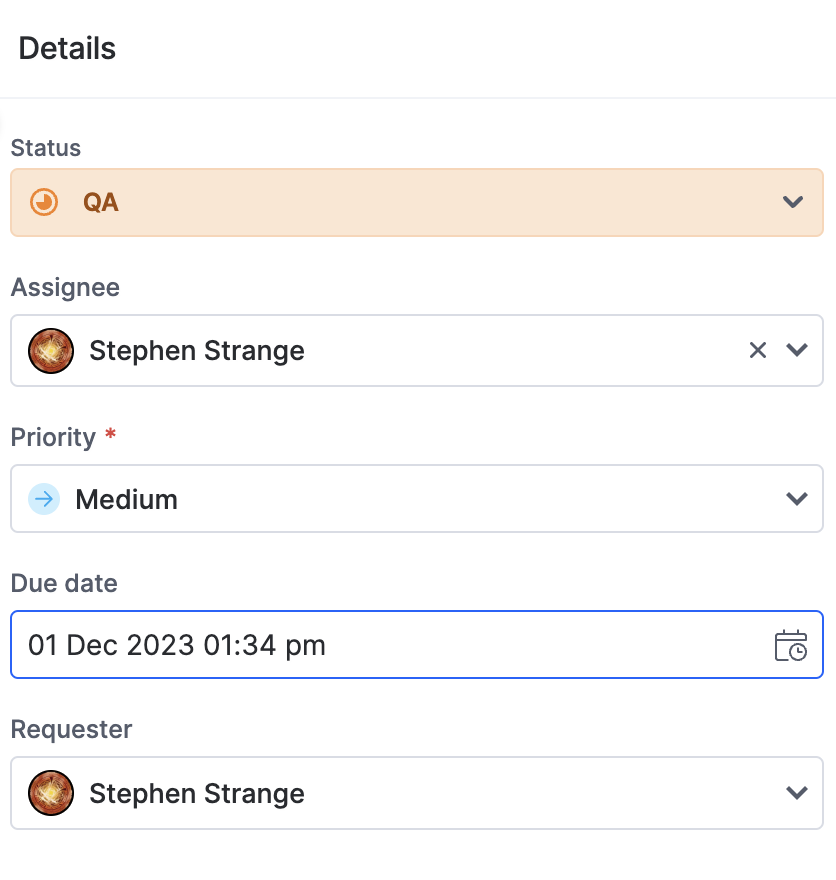
Open an item from any layout and make your changes in the Details tab on the right. All changes are saved automatically.
-
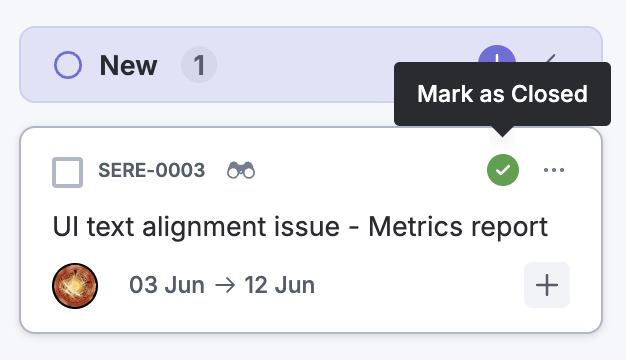
Change status — select the new status from the Status dropdown. You can also mark an item as completed by clicking the check mark on its card, which moves it to the board's completed status.
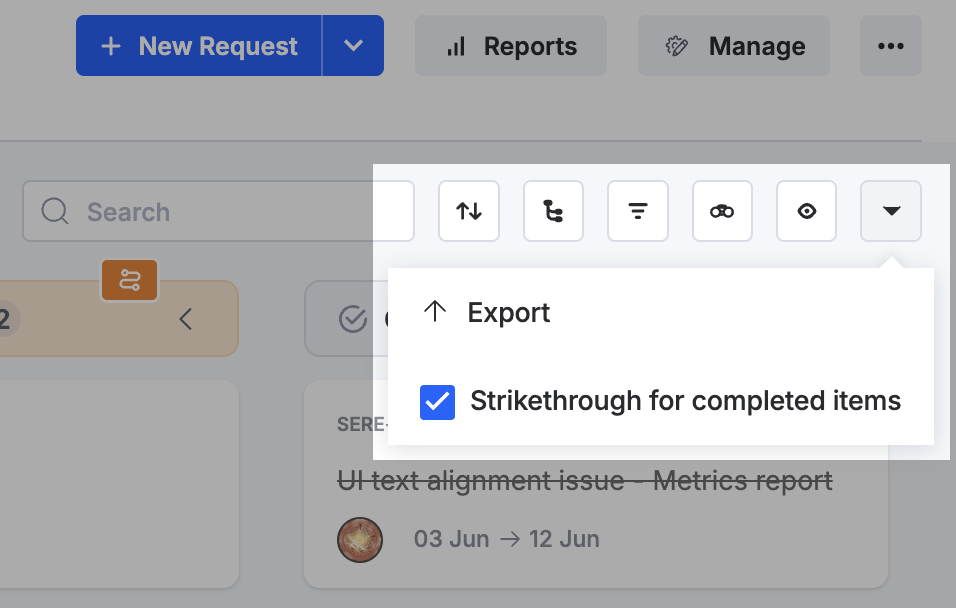
To strike through completed items, open the More options menu at the top right of the layout and check Strikethrough for completed items.
-
Change assignee — select another member to reassign the item.
-
Change priority — select a new priority: Critical, High, Medium, or Low.
Update items in bulk
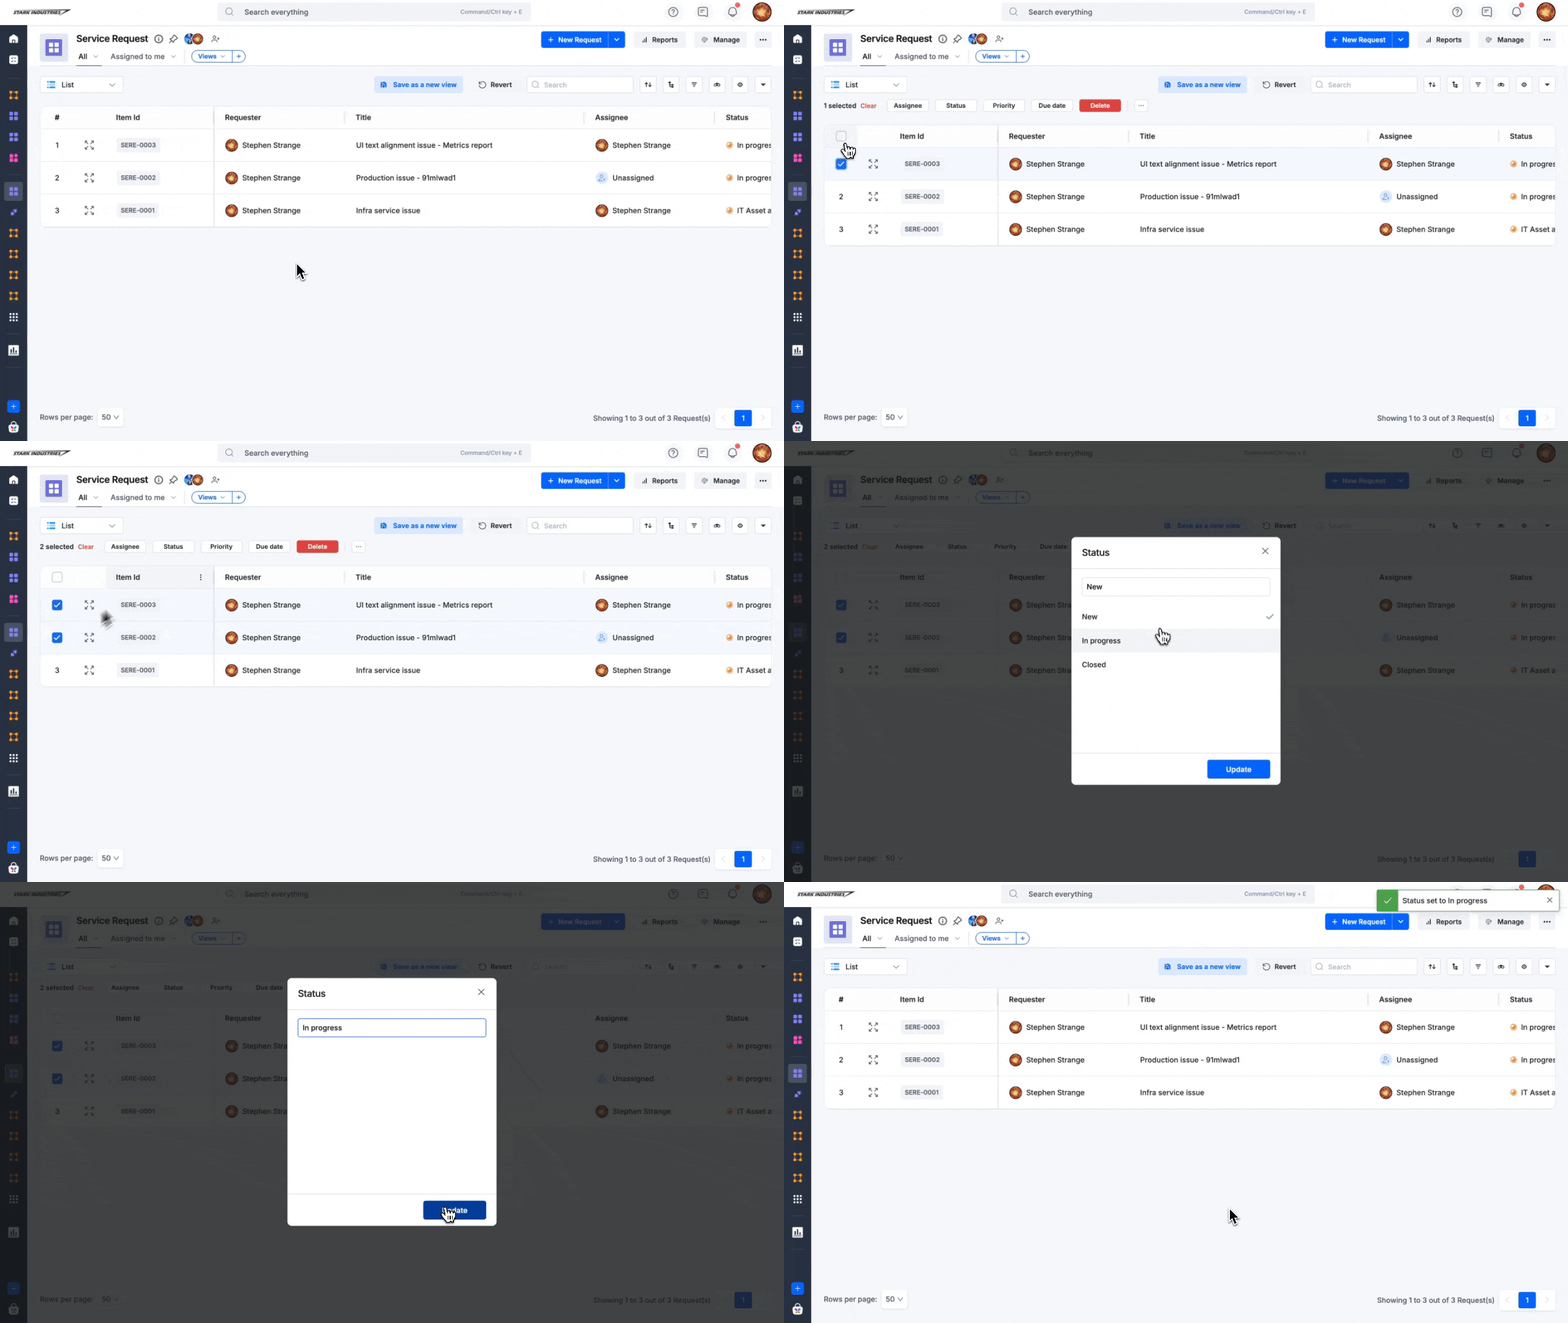
You can update several items at once from the list, kanban, or matrix layout. Select the items, then use the action bar to update:
- Assignee
- Status
- Priority
- Start and due dates — sets the item’s start and due dates.
You can also archive, unarchive, or delete the selected items from the same action bar, and update other form fields through the More options button.
Archive an item
Archiving hides items from your board view without permanently deleting them. It's useful when an item is no longer needed for current work but may need to be restored later.
To archive an item, click the More options button on the item and select Archive. An archived item becomes read-only — to edit it again, Unarchive it first.
Important
When you archive a connected item, its connections with its source and dependent items are removed.
Whether you can archive or unarchive an item depends on your board role:
| Board role | Archive and unarchive items |
|---|---|
| Admin | All items |
| Member | Only items they created |
| Initiator | Only items they created |
| Viewer | Not available |
| Restricted member | Not available |
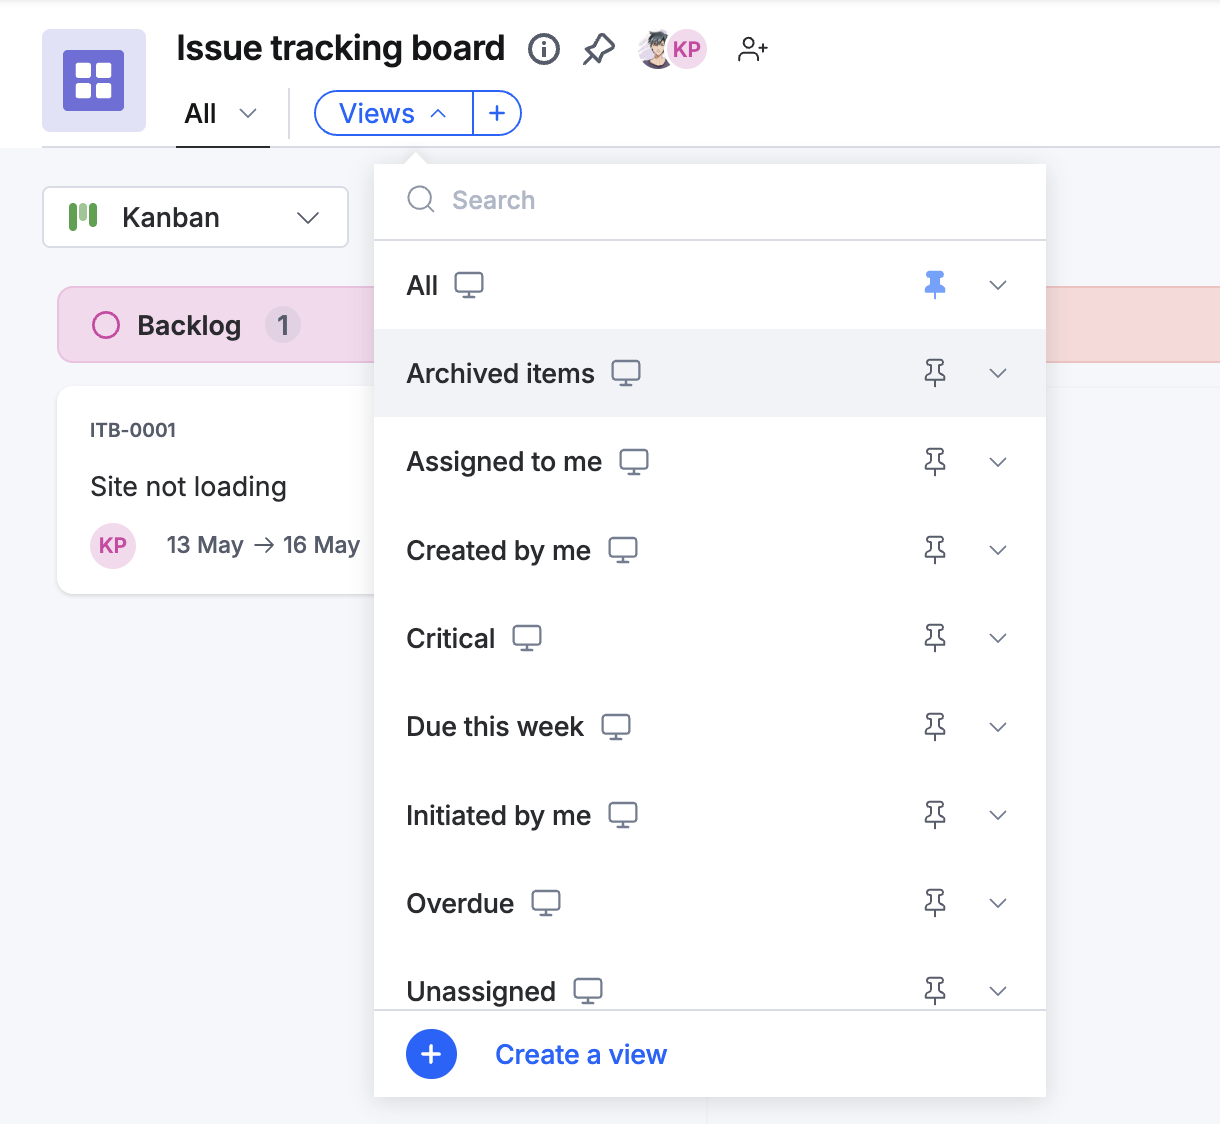
To see archived items, go to Views at the top of the board and select Archived items.
Note
The Archived items view is available with every board role, but the items shown in it follow your role's item visibility — for example, restricted members see only items assigned to them.
Delete an item
Select an item in the board and click Delete. To delete several items at once, select them and click Delete. You can also open an item and click the More options button > Delete.
Clone an item
Cloning quickly creates a duplicate that contains all the information captured in the original. The clone is an independent item and can be tracked and progressed separately.
- Open an item on your board.
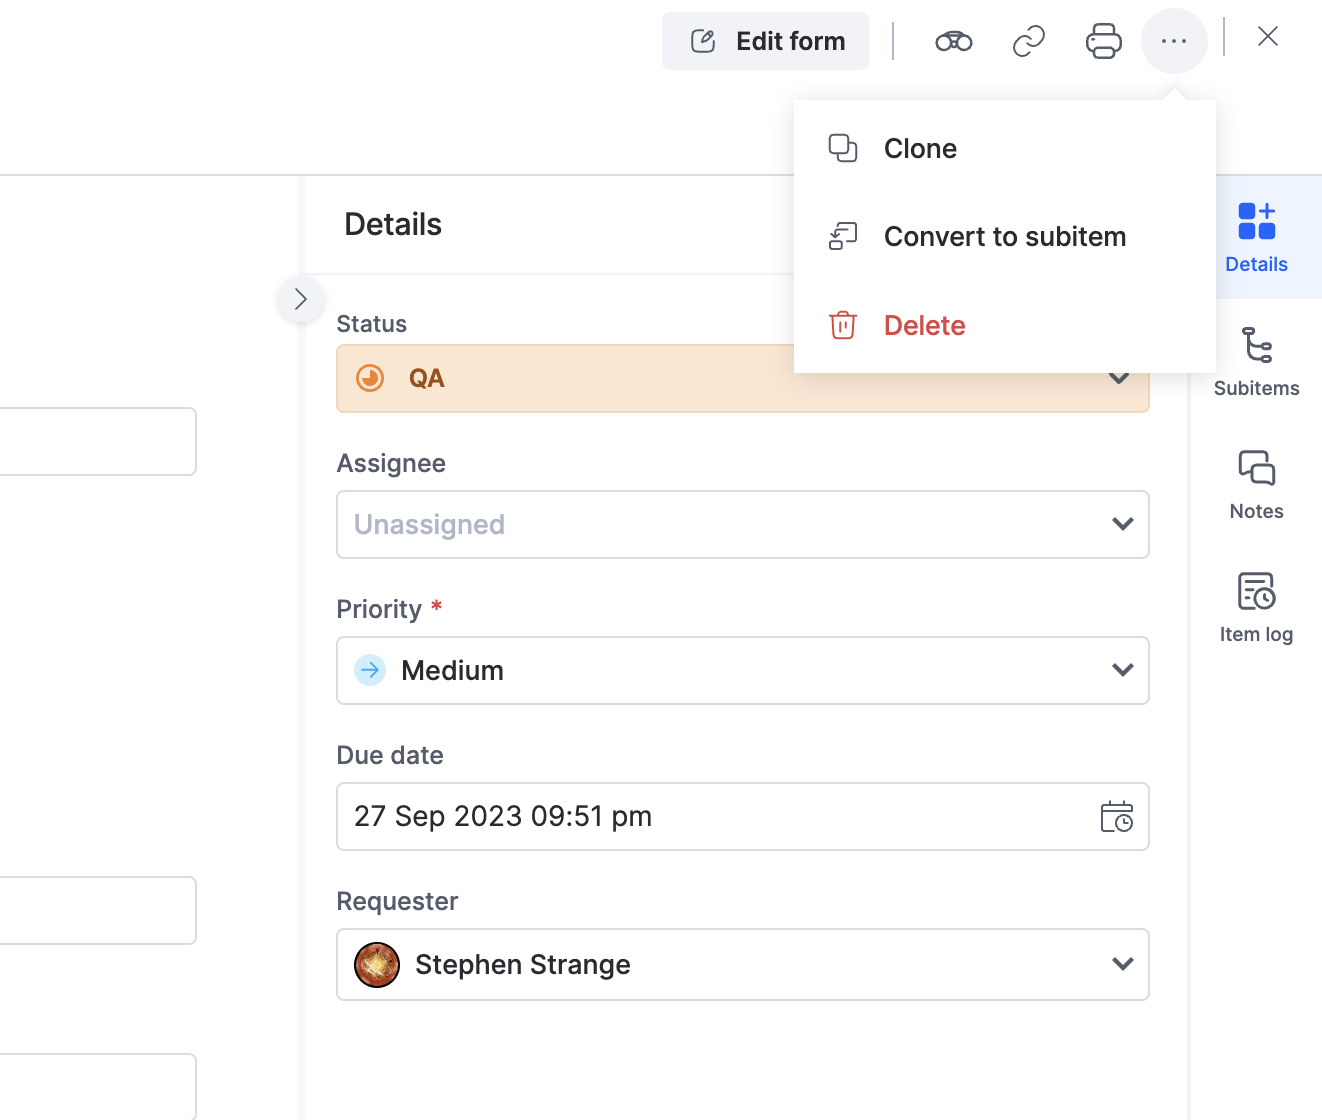
- Click the More options button > Clone.