
How-to
Short answer: In the email body, type / to insert field values and tables. Type labels as plain text. For conditional content, use a condition with two email actions, or a formula field. For a polished layout, attach a PDF from a document template.
Why it happens
- The / picker inserts only field values, not field labels.
- Tables and attachments are arrays, so they can't go inside an expression.
- Tables inserted directly show field IDs as column headers and don't keep color.
How to fix it
To insert fields and tables:
- For standard process emails, open Manage > Settings > Notification settings and edit the notification. See process notifications.
- For custom emails, use an integration with the Send an email action.
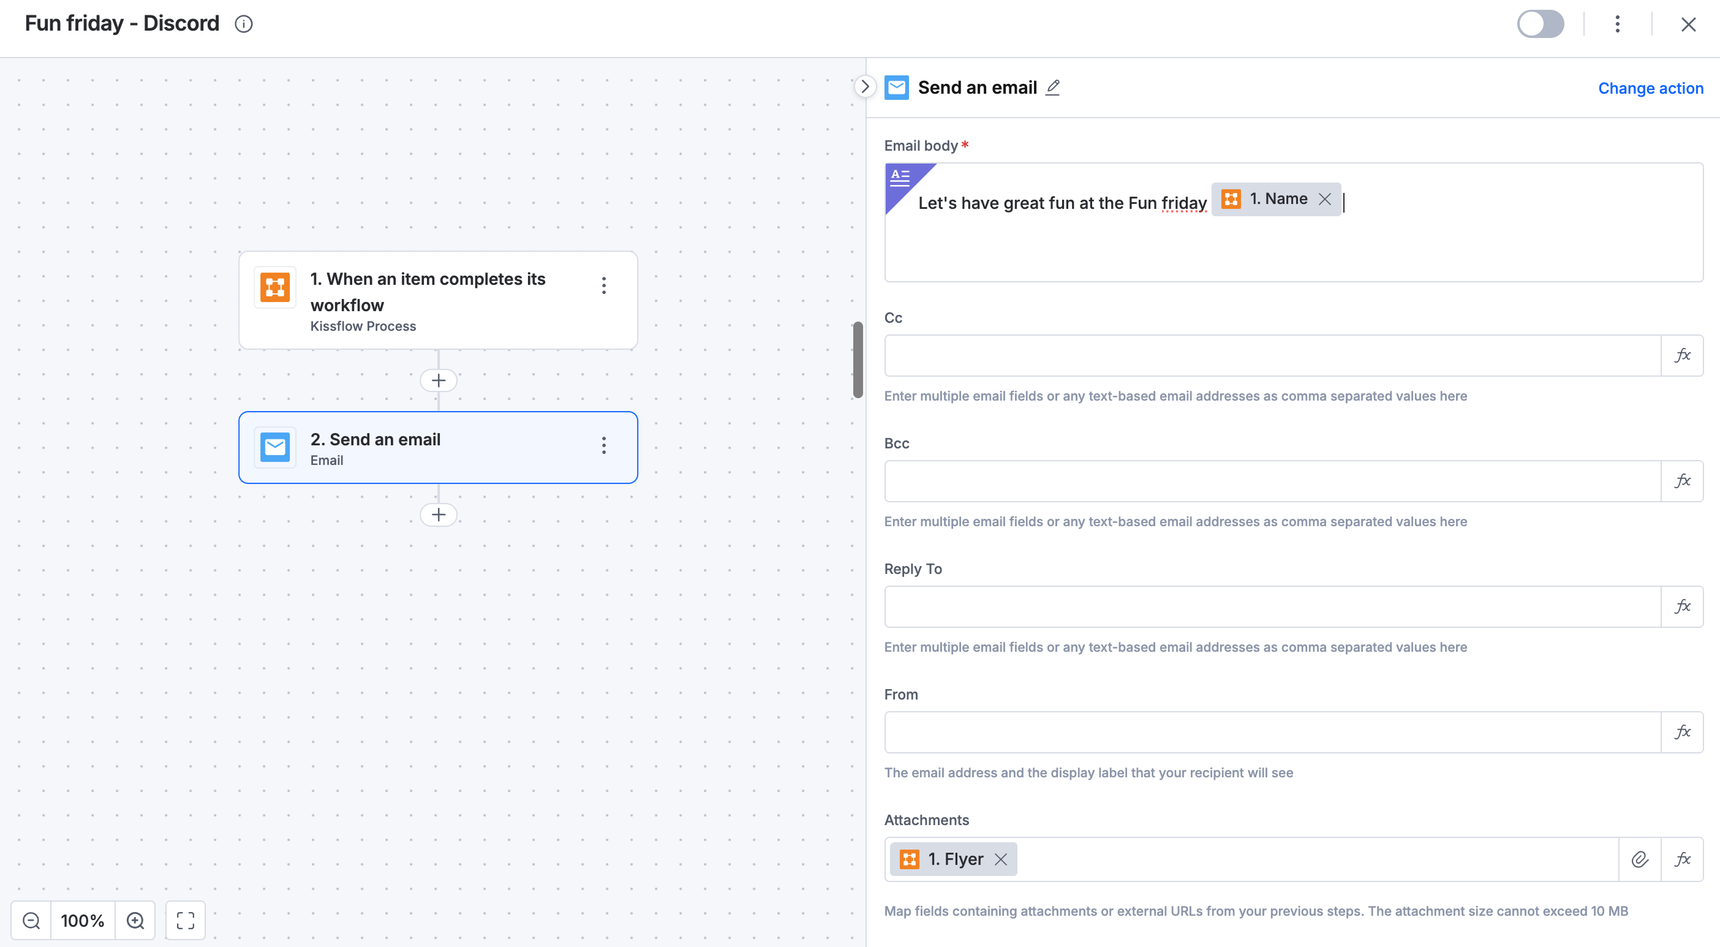
- In the Email body, type / and search for the field. For a table, choose the table and the columns to show. Recipients see the data as a table.
- Type each label as text, then insert the value after it, for example
Vendor Name:followed by the field.
To include conditional content, use one of these:
- A condition on two Send an email actions, one per variant.
- A text field on the form with a formula such as
if(DropdownFieldID = 'Condition', 'Value1', 'Value2'), mapped into the body. - An aggregation field that counts table rows, used in the condition to decide whether to send the version with the table.
To show all form data in a clean layout, with named headers or colors:
- Create a document template.
- Generate it as a PDF in the integration and attach it to the email.
For rejection notes, use the trigger When an item is rejected and map Last Action Note into the body.
Important
The email is sent from Kissflow's server, so put the address that should get replies in Reply to. Don't paste formatted text into the body; retype it. An integration email can't carry approve or reject buttons.